
Like many of you fellow chileheads, I’m a budding gardener and I attempt to grow my own peppers. My bhut jolokia seeds just arrived in the mail yesterday and I’m very anxious to get them planted in soil and germinating in hopes of producing fruit by the late summer.
Like last year, I’m going to grow habaneros, cayennes, and jalapenos. I had also attempted to raise de arbols and amatistas, but thanks to the rollercoaster weather of Missouri the highly sensitive sprouts had died before becoming full-grown plants.
 The places from which you can now purchase bhut jolokia seeds are increasing in number. There are probably a lot of good, reputable online stores with which you may have great luck, but the one I went with is Greenearth, Inc. – the prices were reasonable and I received the package in less than a week.
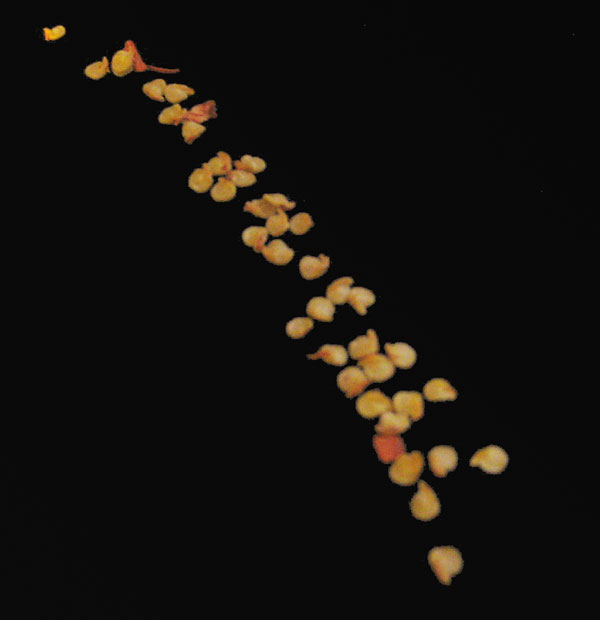
I’ve snapped a shot of the wonderful little seeds (pictured to the right). They look virtually identical to most of the other chiles in the Capsicum chinense species. The capsaicin level in these goes far beyond any other pepper seed I’ve touched and expectedly I had to furiously wash my hands after handling these puppies.
If you hadn’t noticed in the photo, a few dried, red flakes of the actual jolokia peppers remained on the seeds. I couldn’t resist picking off the tiny flakes and tasting them to investigate the bhut jolokia’s heat. I placed one on my tongue. Similar to a habanero, the fire started off slow and gradually built up. When it reached peak heat – WOW! It’s as if I took a drop of Blair’s Jersey Death right on the tongue. It was not quite painful, but still very, very pungent. Flavor-wise, it was difficult to analyze as this dried piece was smaller than a finely-diced fresh sliver of pepper would be. Most of the sensation was heat. The fire slowly subsided and was gone within ten to fifteen minutes (after which I consumed another miniscule Jolokia flake!).
I’m going to start by planting the seeds indoors and then transport them outdoors in the late spring when the seedlings are fairly large and sturdy. Also at this time the midwest weather will (hopefully) cooperate by giving us warm evenings. Stay tuned and I’ll give you photos and updates on the planting and growing process.
Read Growing Bhut Jolokias – Step Two – Planting the Seeds